GIMP - Crop to the edges of a document and change Perspective
Introduction
Since I don’t have a scanner at home, if I need to quickly share a soft copy of a physical document online, usually I take a picture of the document from my mobile phone and share. But the problem with pictures is that the sides of the document do not appear parallel in the image. I used to use Google Photos to crop an image to the edges of the document so that it appears somewhat like a scanned document and not an obvious crappy picture taken from a mobile phone camera.
This solution works well for the most part. The problem with this is that:
- This feature is only available on Google Photos for Android.
- Doing this on a small screen is not the easiest thing to do.
- I am not much of a fan of relying too much on proprietary software.
So I use GIMP now for cropping a document image and I will explain how quick and painless the process is in this post.
Table of Contents
- Introduction
- The Image
- Crop it first
- Delete the remaining areas outside of the document
- Do Perspective transformation
- Export the image
- Conclusion
The Image
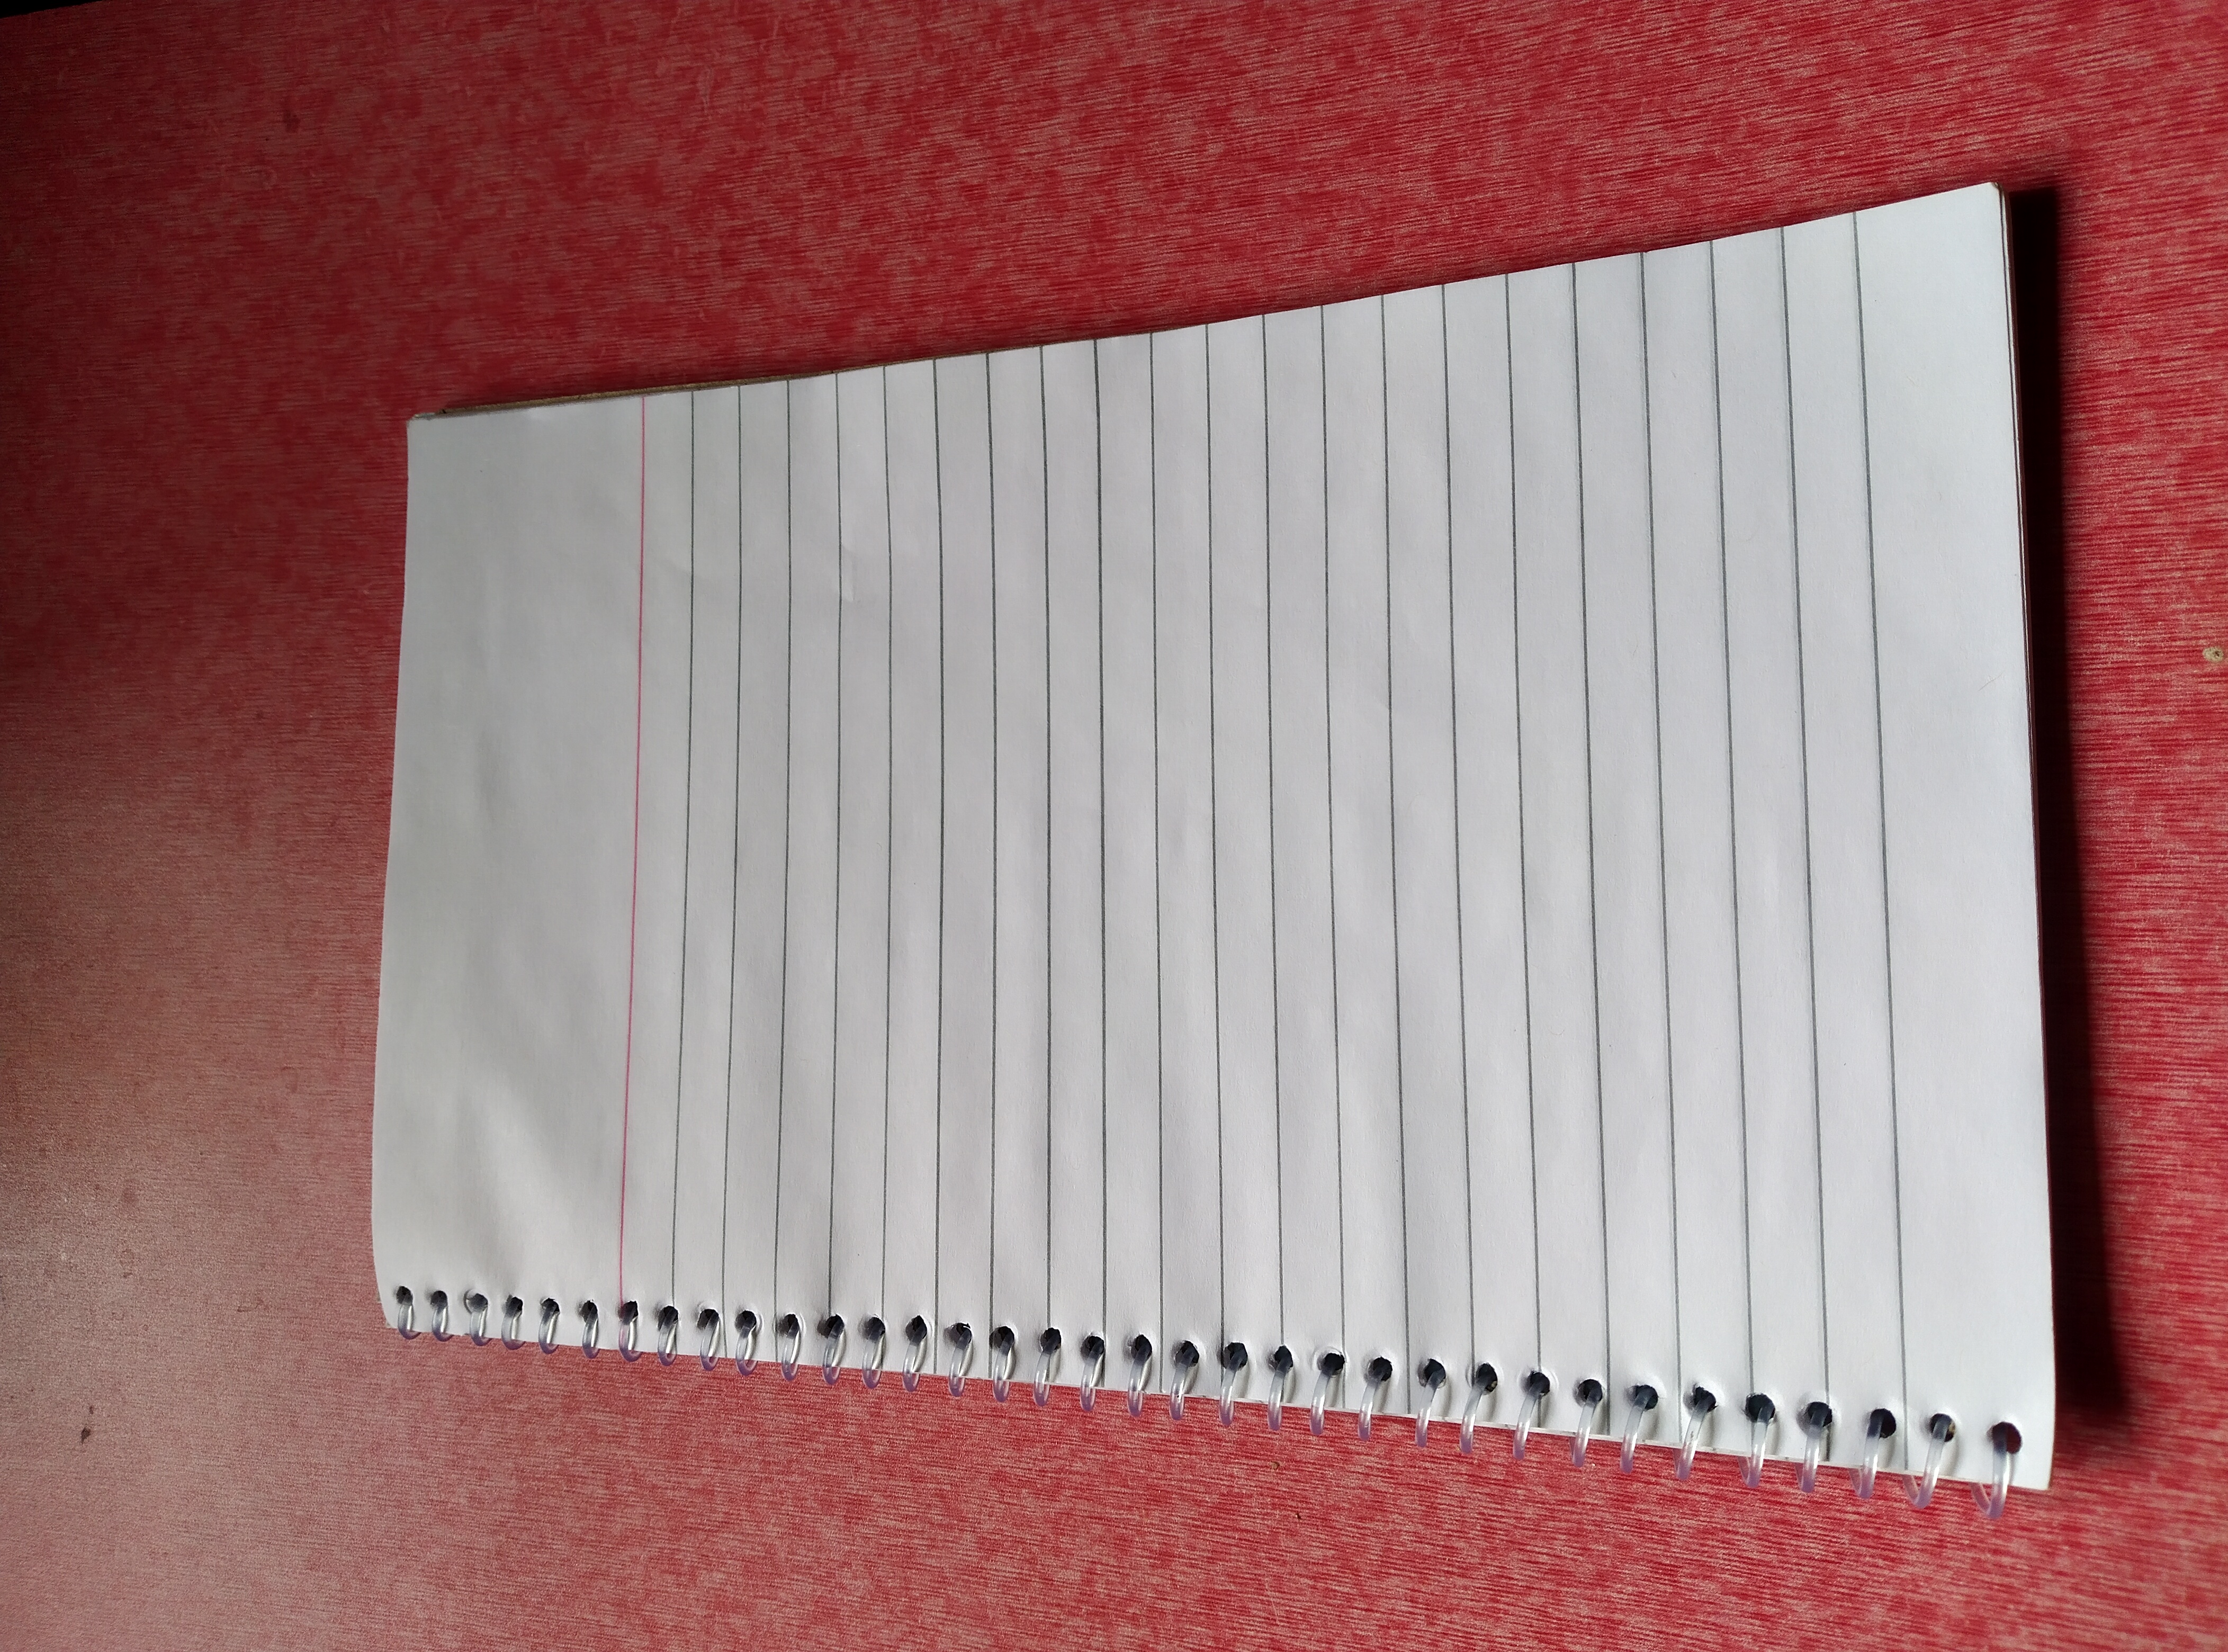
Here’s a picture of an empty notebook page that we will use for demonstration. I placed it on a reddish background and took this picture from my mobile phone camera.
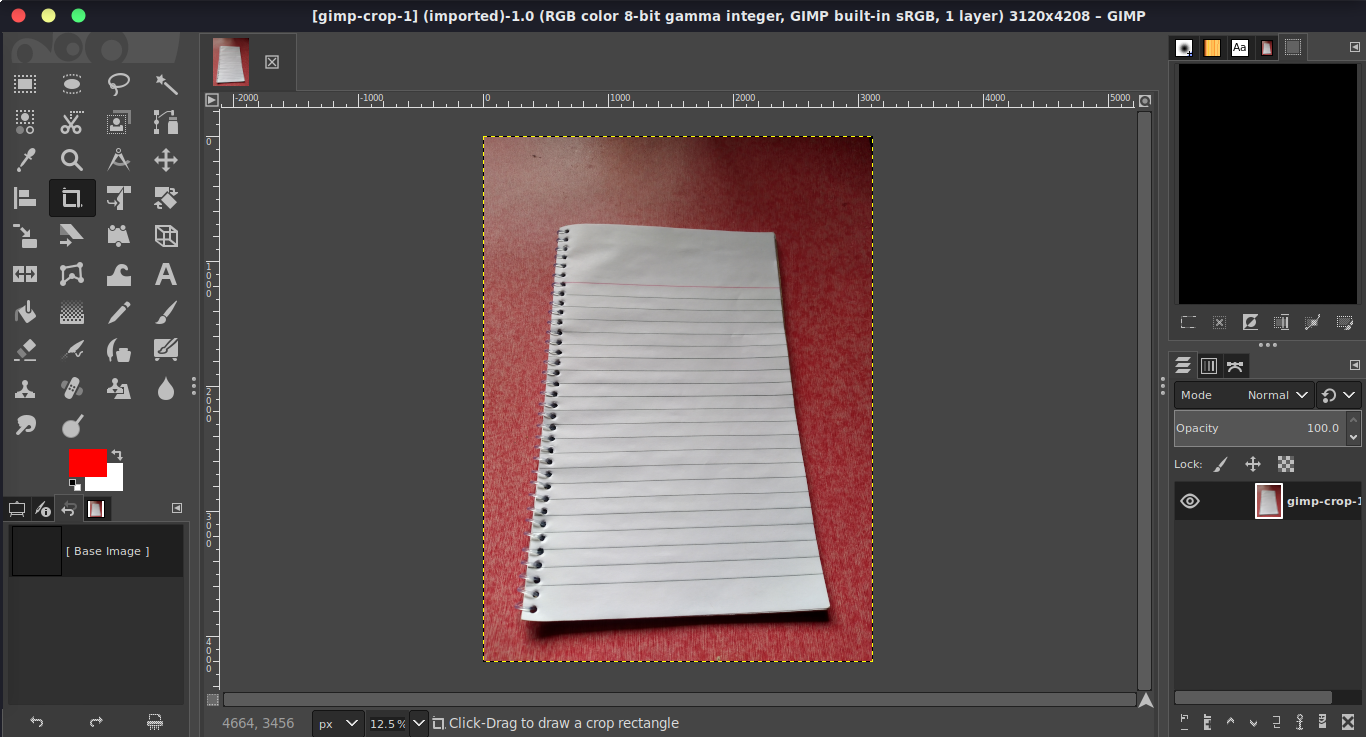
We will open the image with GIMP for editing.
Crop it first
First we will crop the document to a rectangular frame with it’s edges as close as possible to the actual edges of the document with the help of the Crop tool.
- Open the Crop tool from Menu > Tools > Transform Tools > Crop. Draw a rectangle around the edges of the document like this.
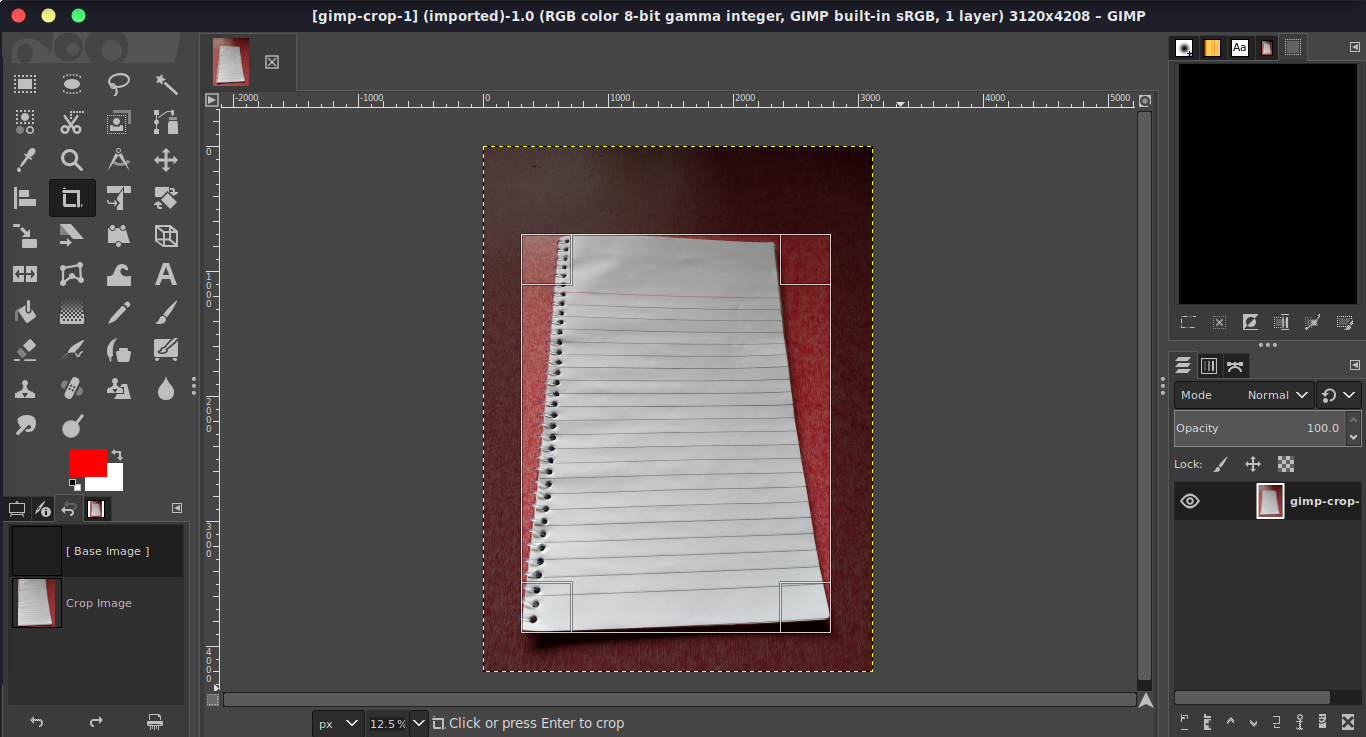
- Drag the edges and the corners of the rectangle to change the crop area. Once you are satisfied with it, press enter to actually crop it.
Delete the remaining areas outside of the document
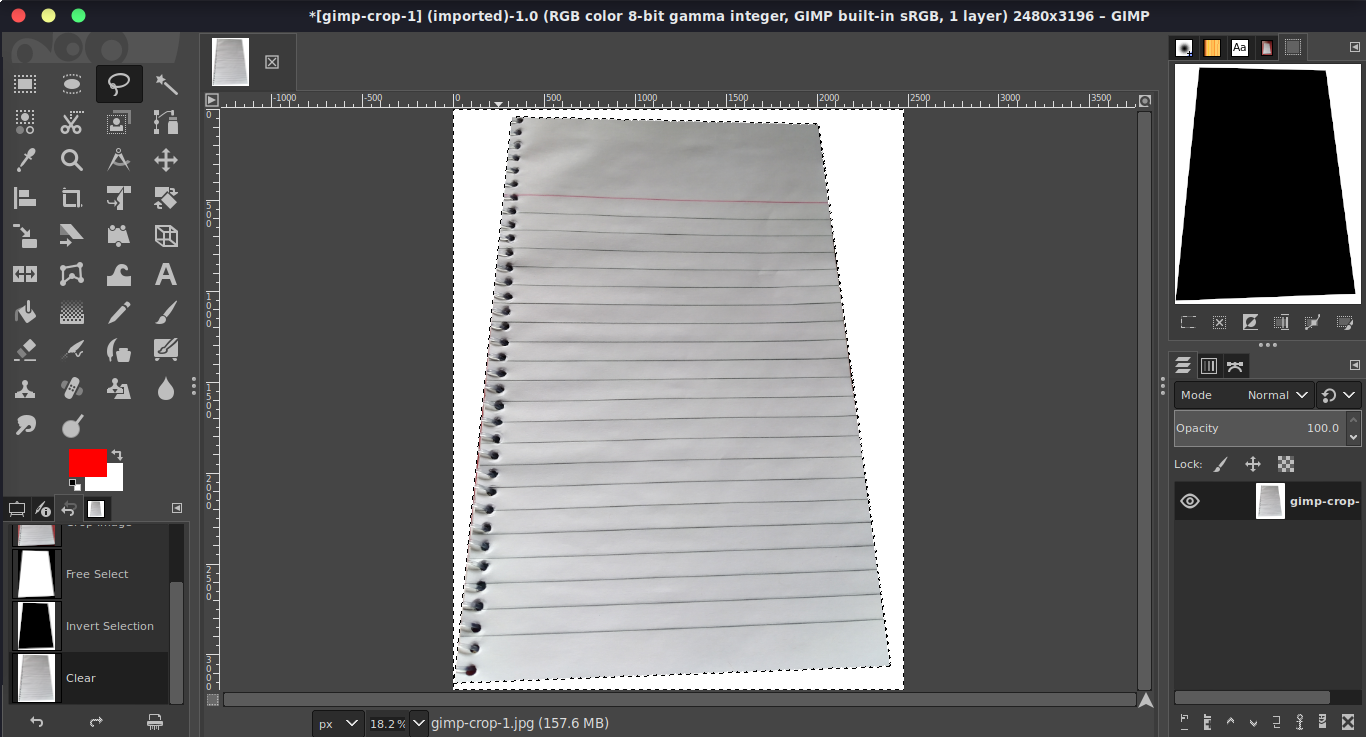
In this step we will remove the remaining background areas from the image. Go to Menu > Tools > Selection Tools and open Free Select.
Put a point on each of the corners of the document in the image to select it like this.
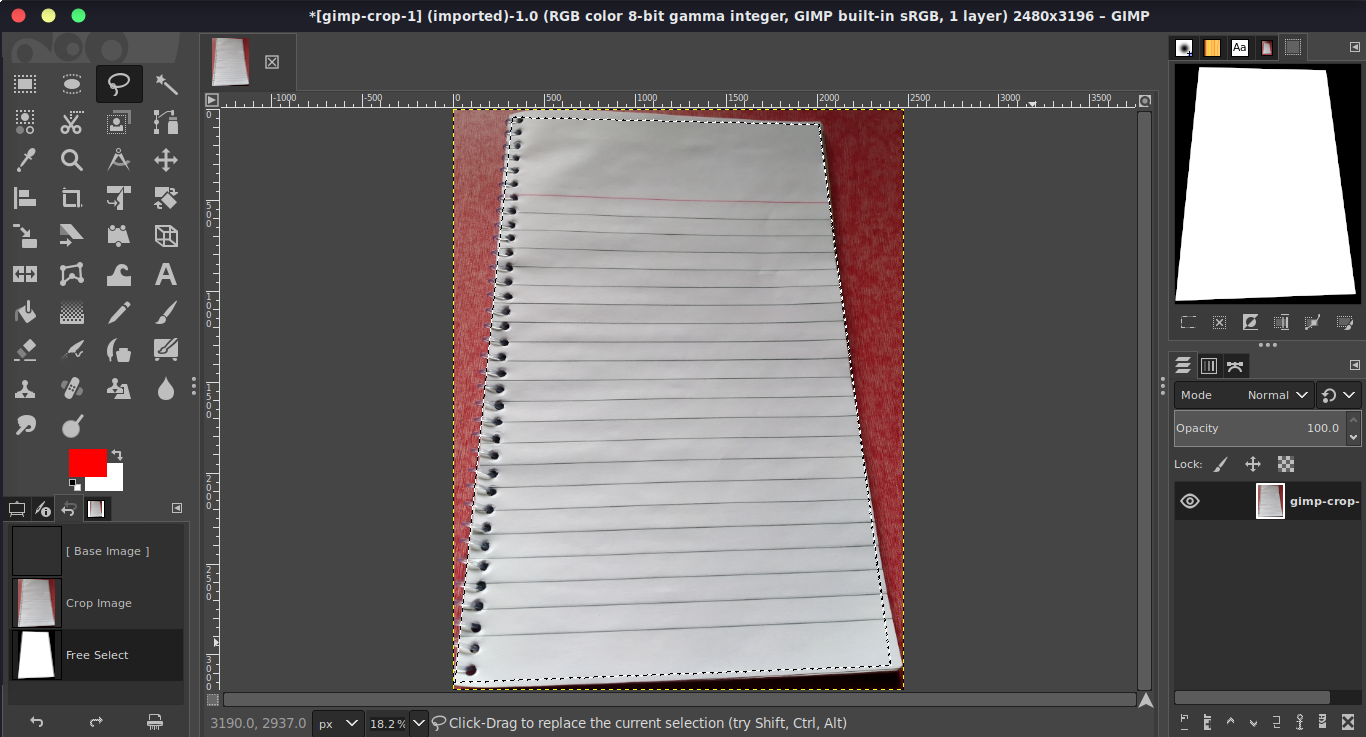
Go to Menu > Select > Invert to invert the selection so that the outer area is
selected instead of the document.
Press Delete to delete the selected area.
Do Perspective transformation
In this step we will transform the shape of the document so that becomes a perfect rectangle.
First invert the selection again so that the inner document is selected instead of the outer area.
Go to Menu > Tools > Transform Tools and select Perspective to open the Perspective tool. Drag the corners so that the inner document area fills the whole frame.
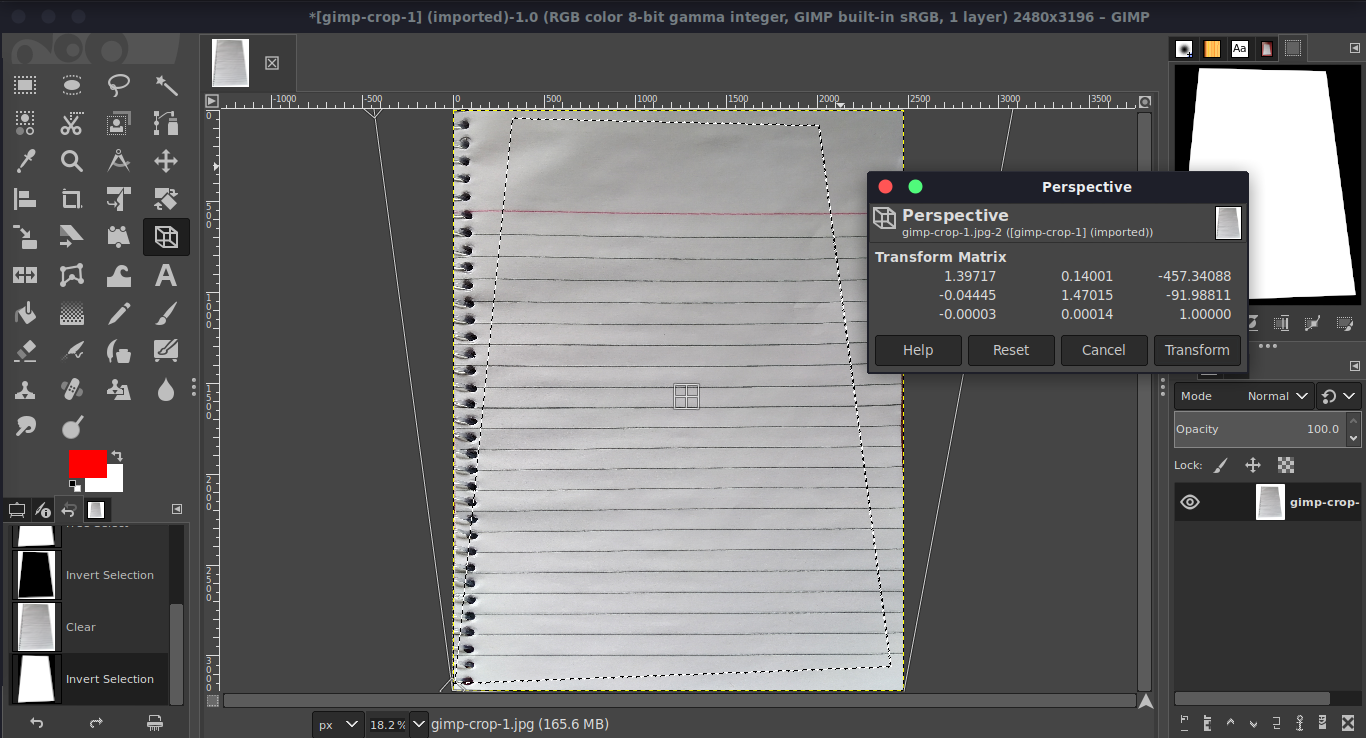
When you are satisfied with the result, click on the Transform button on the Perspective tool pop-up window.
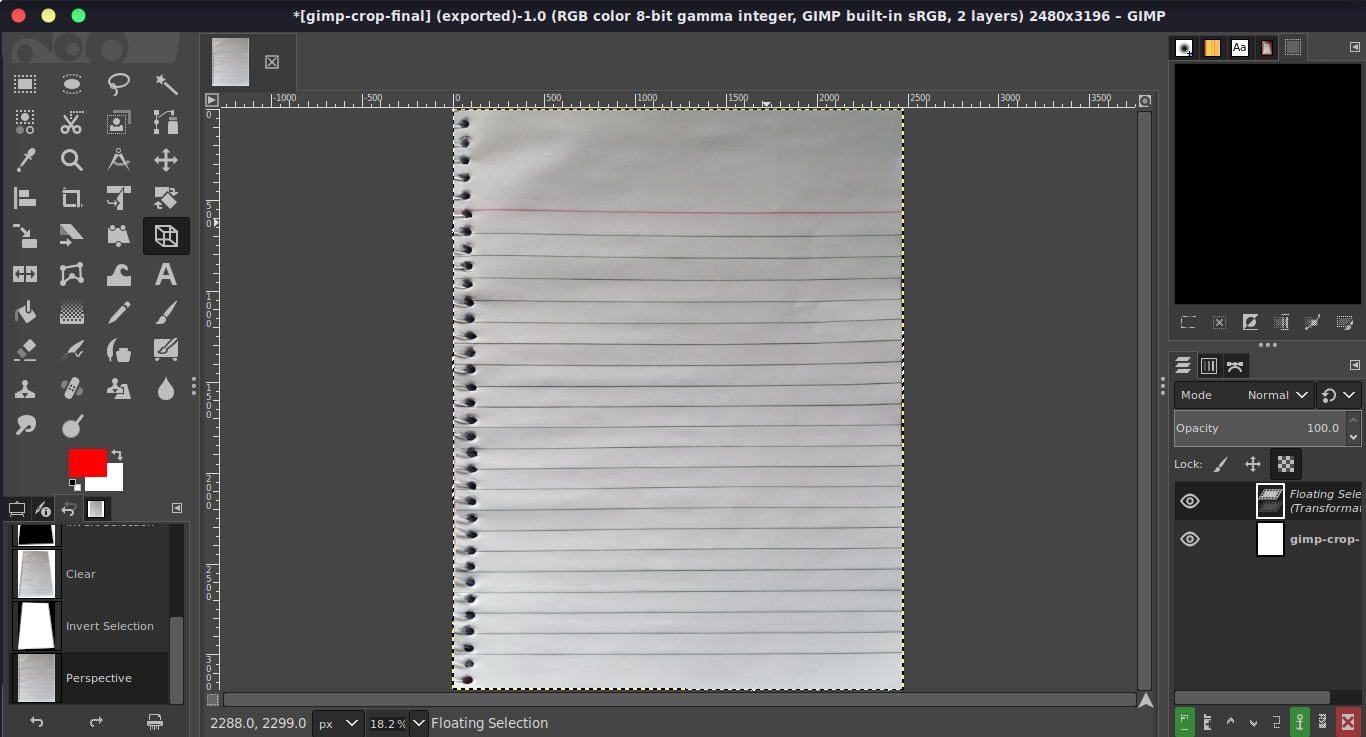
Export the image
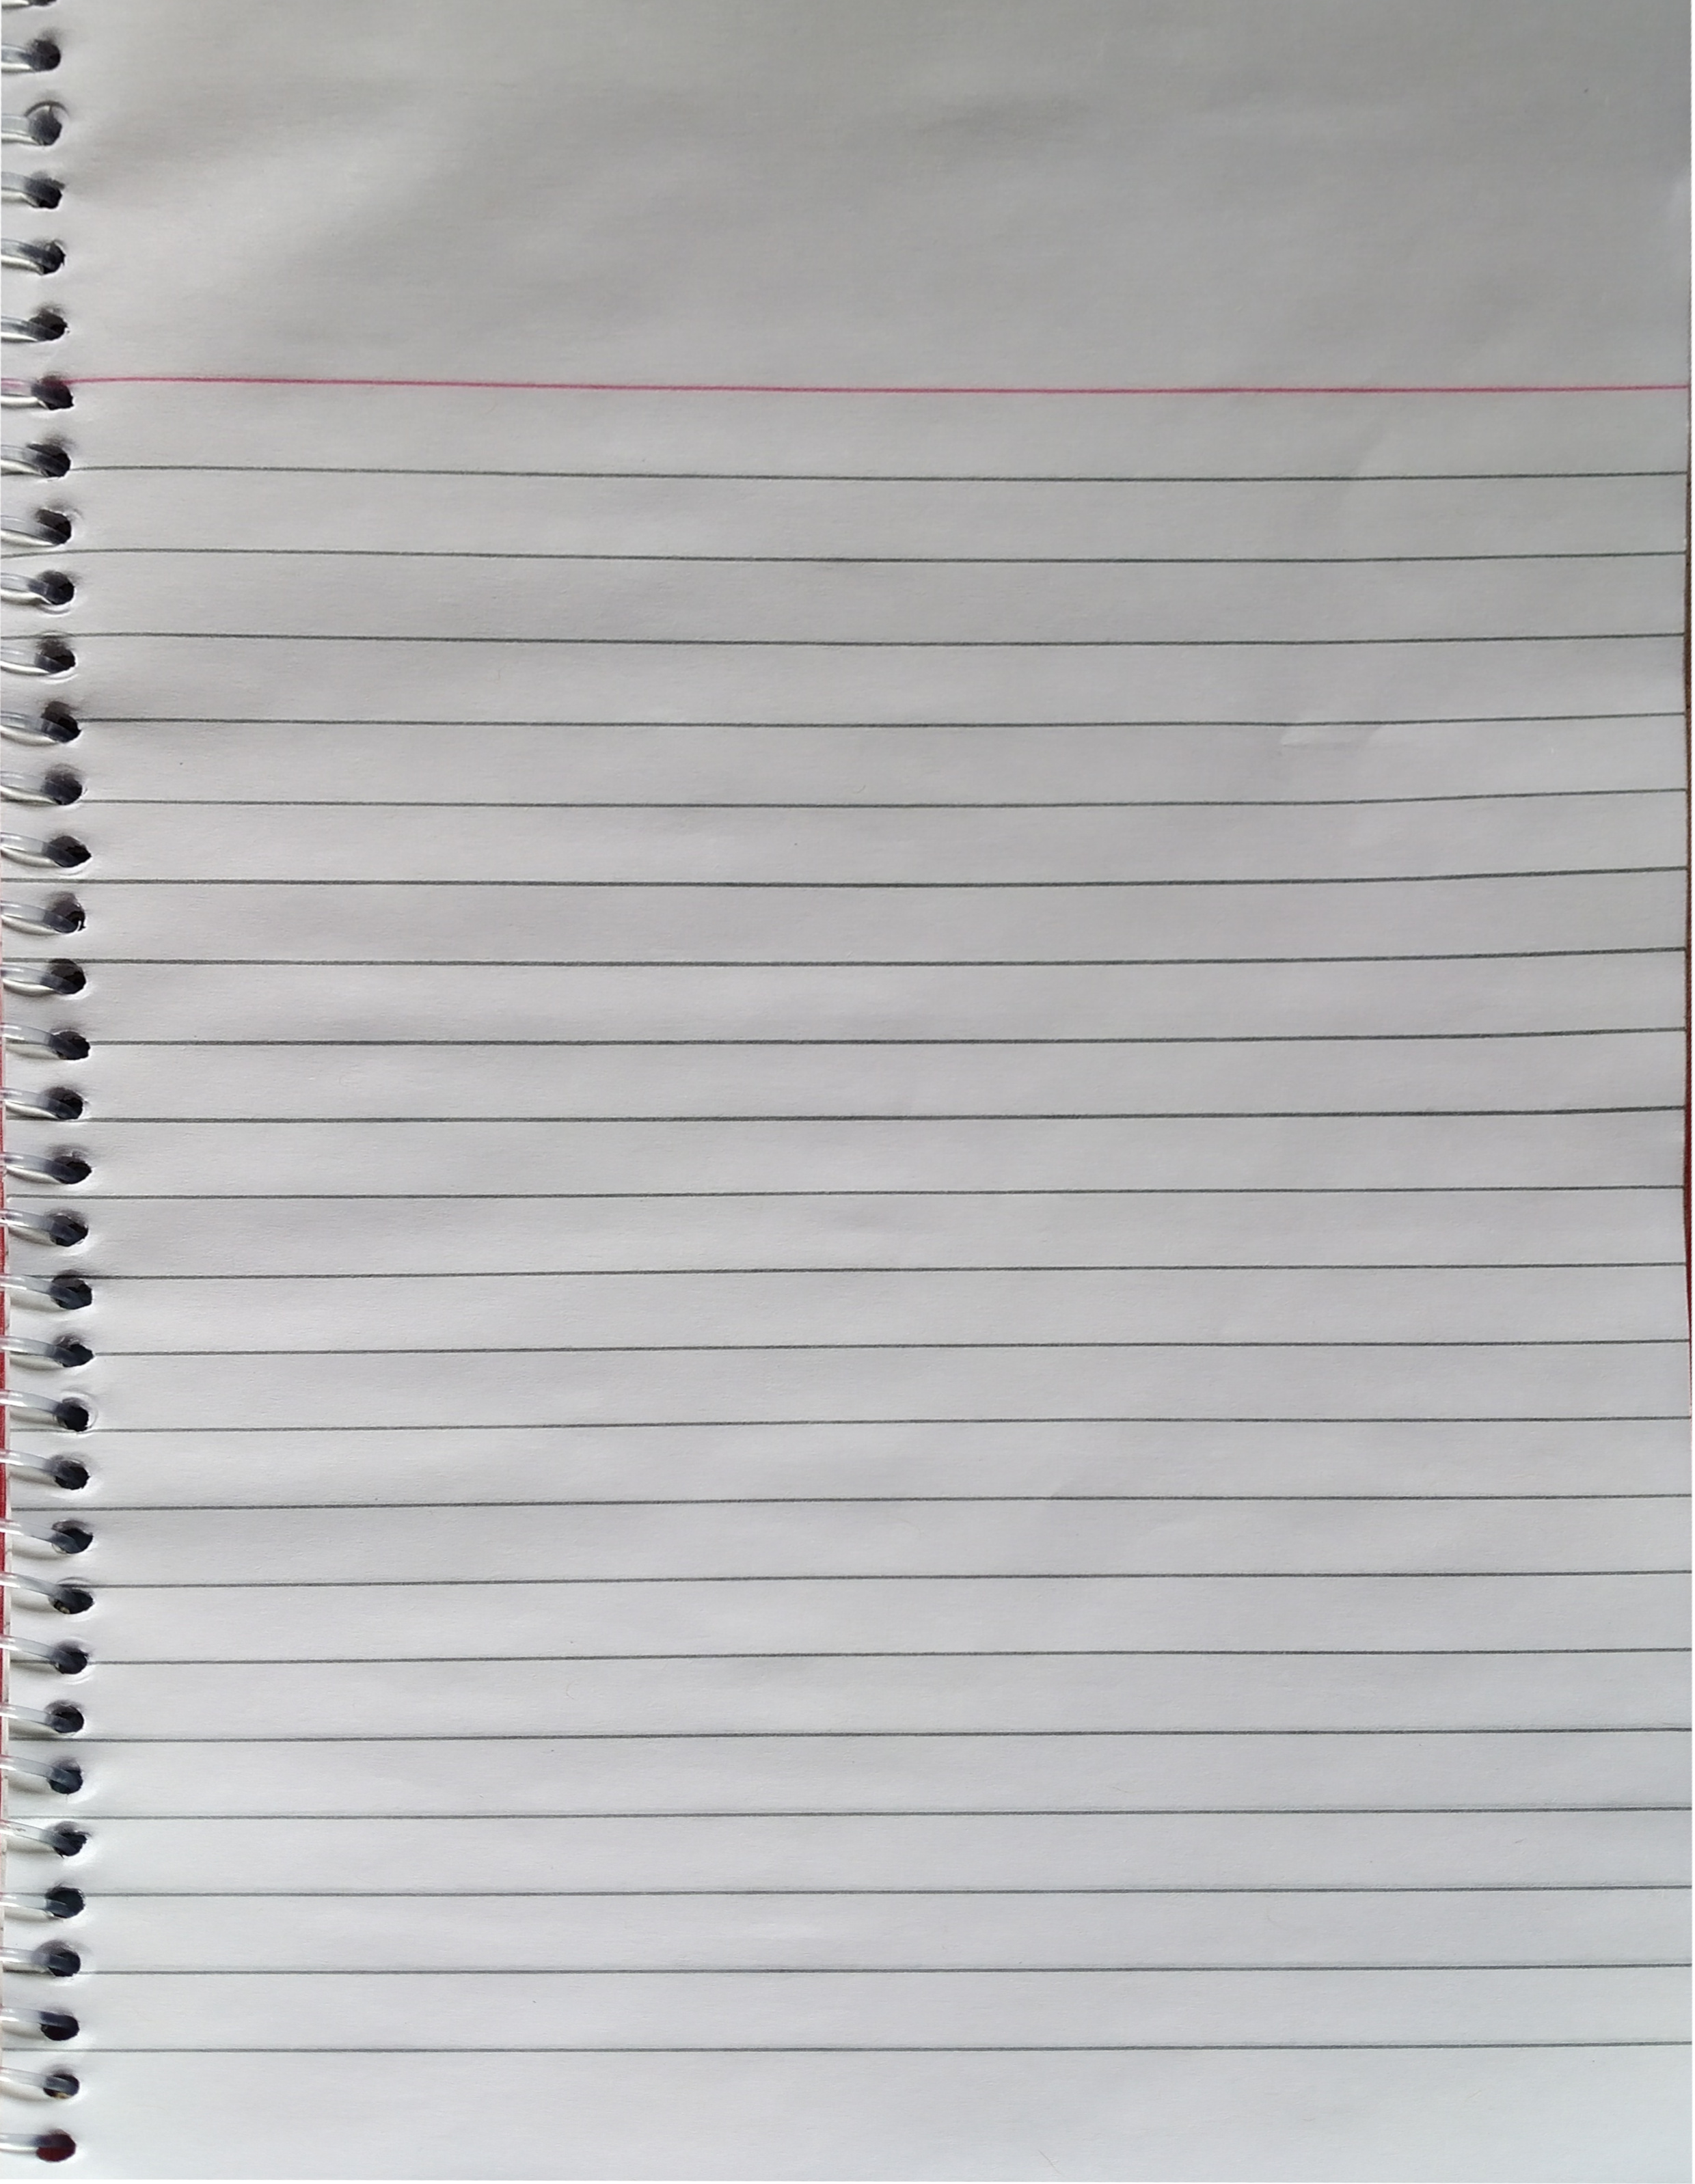
Click on Menu > File > Export As… to export the final image. This is how our final image looks like.
Conclusion
GIMP is a free and open-source alternative of the more popular photo-editing tool Adobe Photoshop and it’s a rather capable one. Although I am neither an expert on photo editing nor a GIMP pro, I still wanted to share this quick tutorial as someone else may find this helpful.